
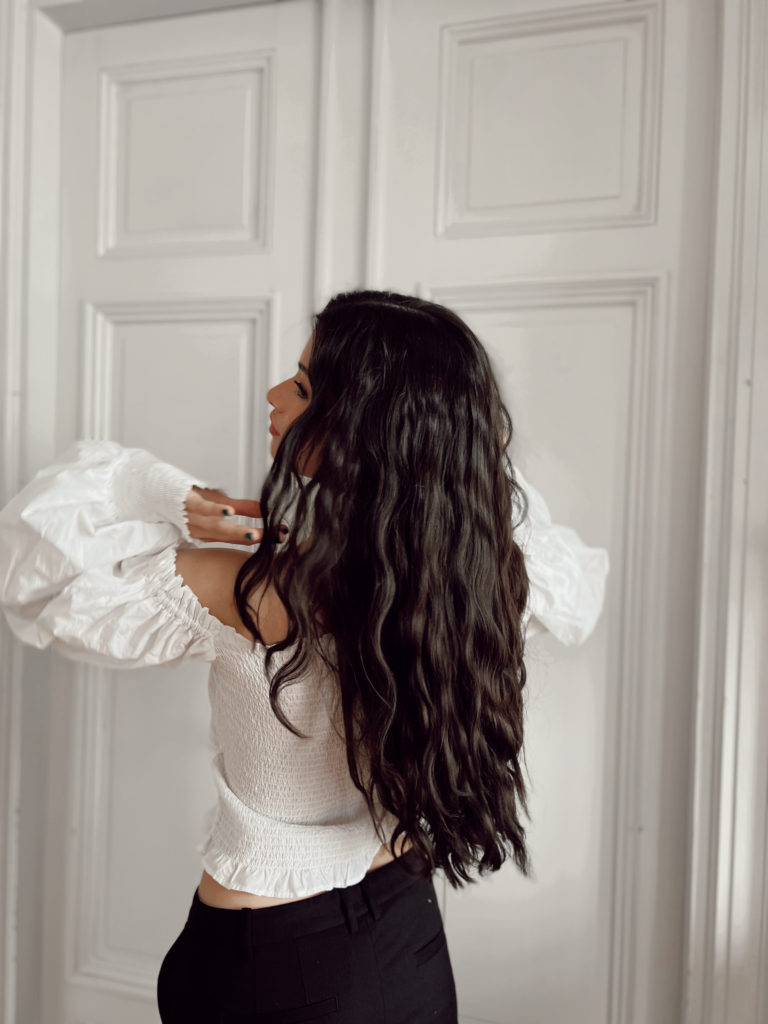
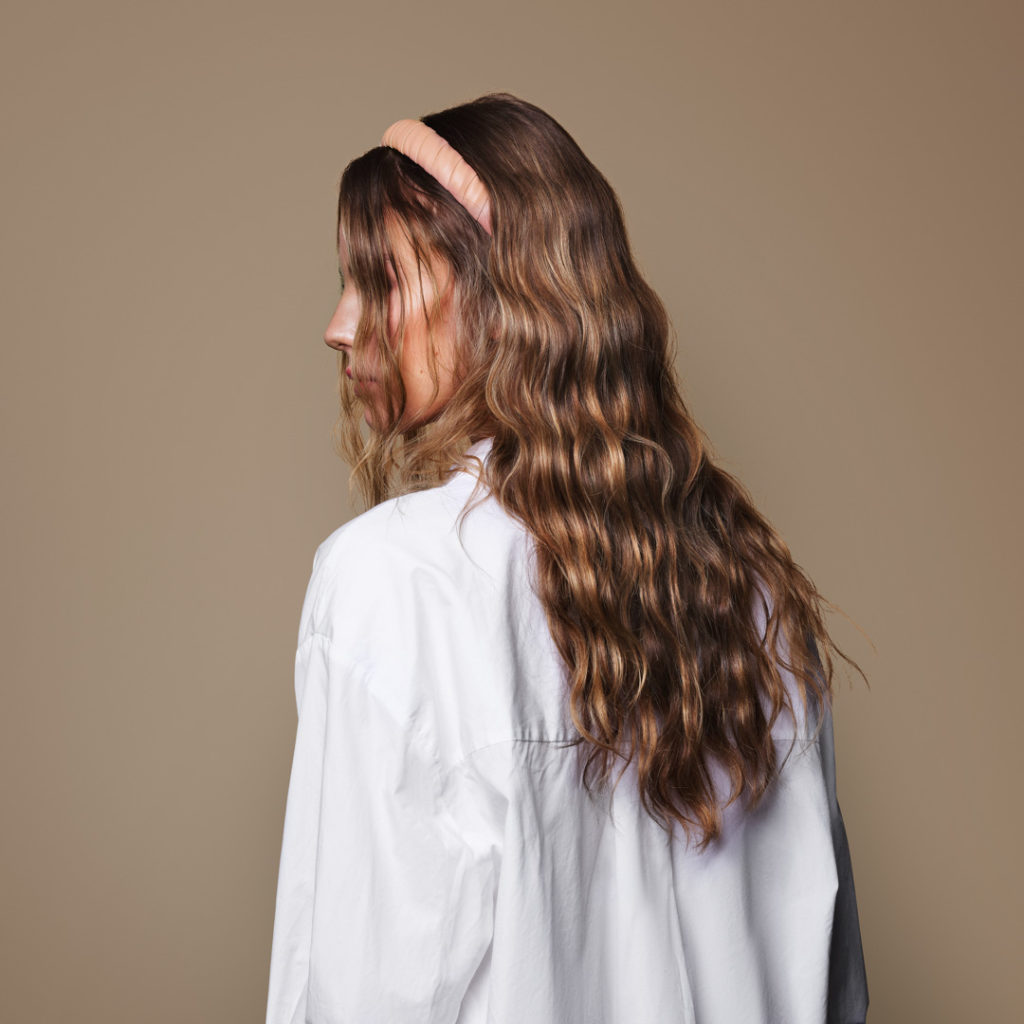
Do you desire gorgeous, smooth, natural-looking waves for your beautiful hair this season? Waves that flow elegantly in the breeze and bring personality to your appearance?
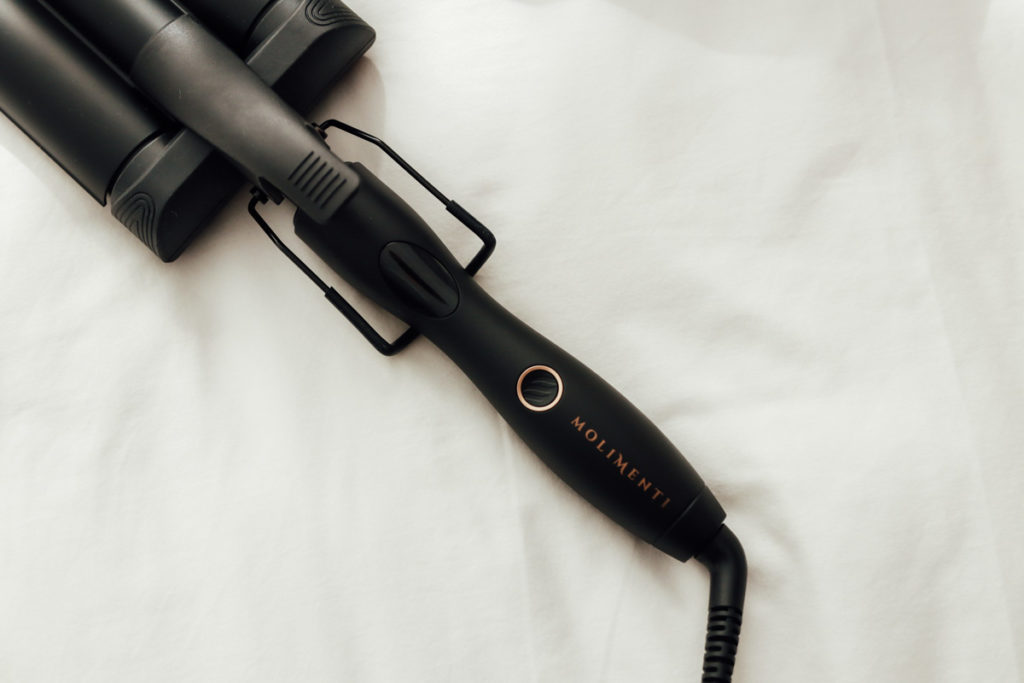
Luckily, looking gorgeous just got easier with Your Wave Wand from Molimenti. It gives your hair smooth, natural, and textured waves with a design and settings that cater to your hair type, length, thickness, and more. It’s your ticket to loose and effortless-looking waves.
This article aims to present professional styling tips to ensure your hair comes out looking perfect with Your Wave Wand. Furthermore, we aim to guide you through using this hot tool and achieve your desired wave style.
Let’s begin!
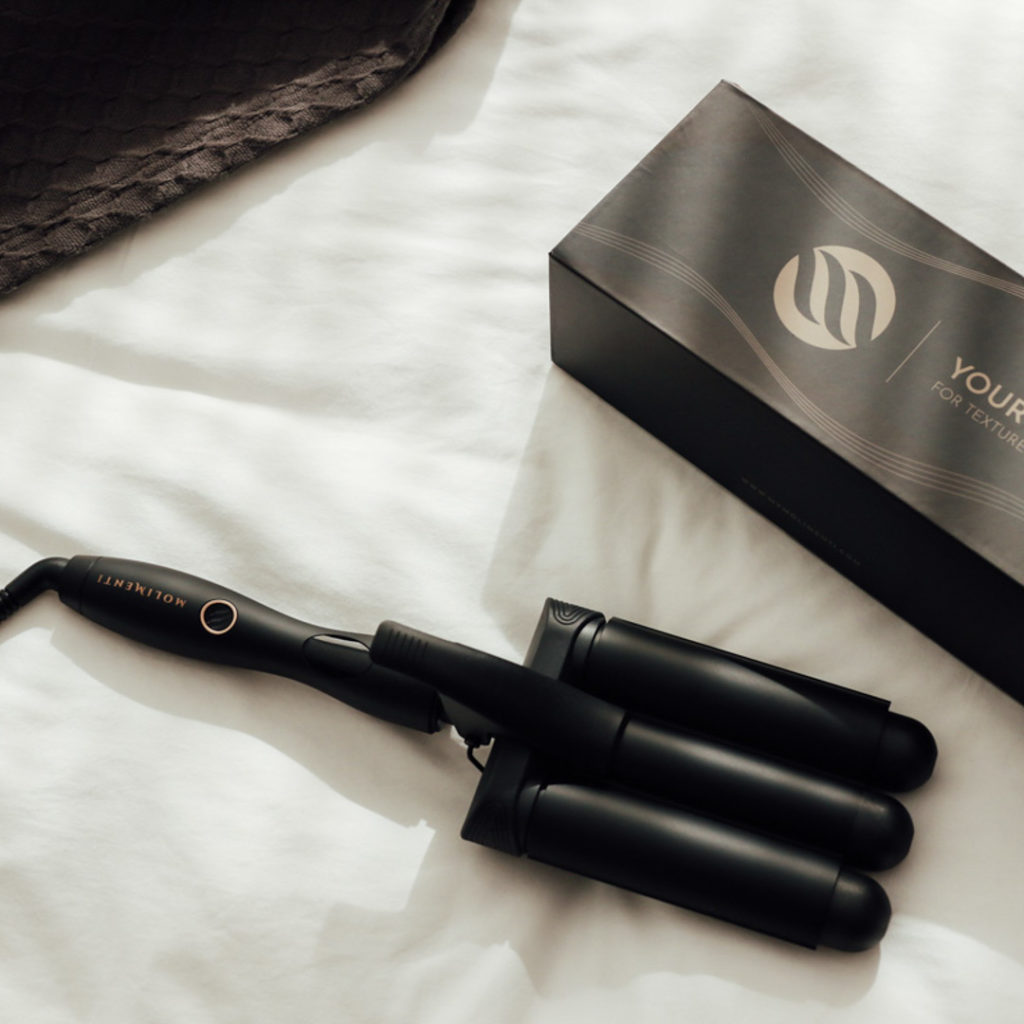
Why you need Your Wave Wand
Styling your hair with Your Wave Wand eliminates typical creases that appear after waving. Furthermore, it’s a better option than any waving iron since no clamp leaves ridges or grooves on your hair.
Unlike other options that give you furrowed lines instead of waves, Your Wave Wand ensures perfection on each hair strand, waving and shaping your hair into a rich wave with zero creases.
Tips for waving Hair with Your Wave Wand
Before using any tool that requires some skills, it’s best to familiarize yourself with and understand the device.
In this case, the first course of action is testing the wand on your hair without plugging it into electricity. This allows you to understand the wave wand and see how many clamps your hair length can make.
Also, performing all these tests without electricity ensures you don’t risk burning yourself or frying your hair while learning. It’s a necessary step towards perfection.
After understanding Your Wave Wand and plugging it to reach your hair’s ideal heat setting, the next phase is preparing your hair to accept the upcoming natural waves.
Begin preparation by removing significant knots and tangles from your hair with a brush (Your Hair Brush), comb, or any unique method you have for this purpose. If you desire perfection, you can meet a hair stylist to help you through this process.
If you aren’t sure of your hair’s ideal temperature setting, you can opt for a heat-protectant spray on a small portion of your hair. Afterward, adjust the temperature until you reach your desired result.
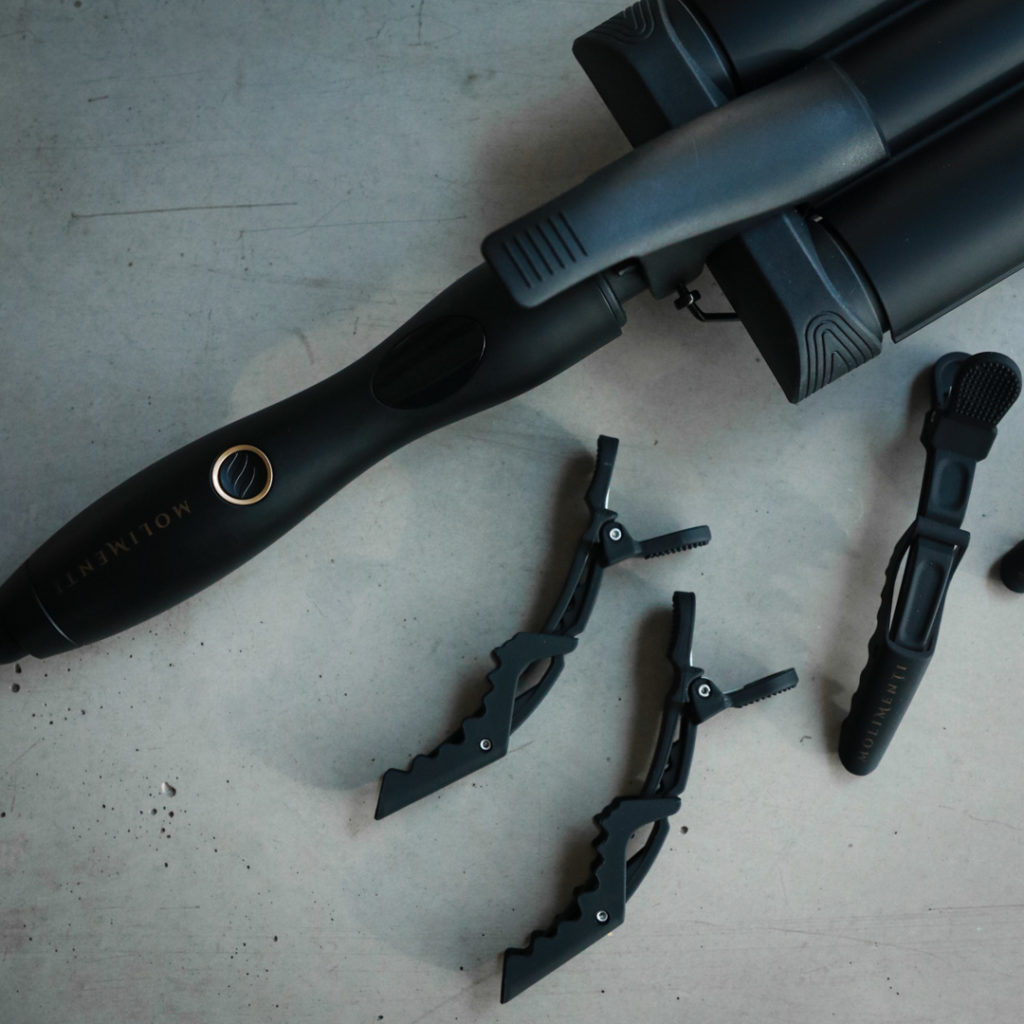
To make the wave-creation process with Your Wave Wand, we recommend sectioning your hair into three to four parts with Your Sectioning clips.
Divide the hair into two parts, top and bottom; use the line across your head from the top of one ear to the other as a guide for division. Next, hold the top section with a clip, then split the bottom section vertically in half and clip one side away.
You’re ready to begin waving!
Once you’re done testing Your Wave Wand and preparing your hair to have smooth, natural waves, begin waving. Do this by grabbing a section of your hair, preferably an inch thick or less.
An inch of hair or less is ideal since it gives each strand that attractive and wavy bounce after waving. Anything thicker than an inch might not produce the most visually appealing result.
Ensure to hold Your Wave Wand correctly for best results. We recommend keeping the waver at the same angle throughout the waving process for satisfying results. Furthermore, make sure Your Wave Wand is straight and parallel to your head since it leaves you with fine lines and more even waves.
Also, consider putting Your Wave Wand in the last wave you made when you start the first wave for an even smoother styling.
While different techniques exist for achieving a particular wave style, curling short or long hair, and many more, the ones listed in this article are sufficient to provide satisfying results.
The skill needed to operate Your Wave Wand is minimal; nevertheless, mistakes can prevent you from achieving that much-deserved natural wave. These common errors include:
As previously mentioned, it’s best to wav an Inch, or less, of hair for maximum results. Unfortunately, the inability to properly gauge the necessary amount often results in uneven waves.
Clamping too much hair around Your Wave Wand prevents the heat from reaching each strand, resulting in unsatisfying waves.
2. Holding the wand for too long
There’s a common misconception that the longer the heat stays on your hair, the tighter the waves and longer they’ll hold. While there’s some truth to this statement, it’s not a good thing.
Essentially, too much heat will harden the hair strands and damage them, making them easier to break and fall off. Also, you risk burning your hair and ruining it further. Therefore, always use heat protection while styling your hair with hot tools.
Therefore, adjust the temperature according to your hair type and ensure the barrel is warm across the strands for satisfying results. Furthermore, the ideal time for holding your hair on the wave wand is five to seven seconds; anything more than this recommended time may damage your strands.
3. Poor hair sectioning
This article emphasizes the importance of sectioning your hair before waving, making the entire process uniform and easier. Failing to follow this recommendation makes you miss a chunk of hair.
To achieve that beautiful and irrefutable wavy look, you need every stand waved perfectly, and sectioning your hair is the best way to accomplish that. Therefore, ensure to clip your hair, brush away, and wave for better results.
Effortless waves are timeless hairstyles in movies, magazines, music videos, and more. It’s a symbol of beauty, and these tips are sufficient to provide you with that look. Visit Molimenti for the perfect wave wand to give your hair natural-looking and long-lasting waves.